A powerful program for formatting SD cards. Program for formatting flash drives
SD card (Secure Digital Memory Card) is one of the most popular devices for storing information. It is compact and can hold tens of gigabytes of information. Most mobile devices store data on MiniSD and MicroSD.
Unfortunately, SD cards are not protected against loss of photos, videos and documents. Scenarios for deleting files on an SD card are varied. This includes erroneous formatting, damage as a result of unsafe removal from a card reader or phone, and accidental deletion of files and folders. Basically, users of Android mobile devices lose videos and photos from the Gallery, and less often, documents (text notes). This review presents the best tools for data recovery from SD cards.
Review participants:
7-Data Card Recovery - a program for recovering information on sd and microsd
7-Data Card Recovery is included in the 7-Data Recovery Suite. It will help those users who have lost files on the SD card as a result of formatting or unintentional deletion. All standard Android file formats for audio, video, images are supported. Considering the features of Android, the list is not so wide, but this is more than enough for an SD card recovery program.
7-Data Card Recovery recovers data only from the external memory of the mobile device. The most popular types of cards are SD Card, SDHC, Compact Flash, xD Picture Card, MicroSD, Memory Stick.
The 7-Data Card Recovery application is installed on a computer running Windows XP >. To search and restore a microsd, you need to connect it to your computer via a card reader. After connecting, a list of removable storage devices will be displayed; you need to select an SD card from the list. By the way, the program also works with local disks, so the scope of this tool is much wider than it seems at first glance.
The cost of a 7-Data Card Recovery license is $49.95 (home edition), a yearly subscription is $39.95. The trial version can be downloaded for free.
Note. In addition to Card Recovery, an Android Data Recovery edition is available. It works with the internal memory of tablets and smartphones. The program is compatible with popular mobile brands like Google, Samsung, Lenovo, Fly and others.
Card Recovery is a highly specialized program for recovering photos and videos on an SD memory card
Although there are dozens of programs for recovery from memory cards and flash drives, not many can boast of a good track record and real, not marketing, recovery functions. The CardRecovery program is considered a “veteran” in the recovery application market. If you study the list of deletion scenarios, user cases, supported cards, digital camera manufacturers and file types - in general, it becomes clear that we have a professional tool for resuscitating sd.
The latest version of CardRecovery is v6.10. The product has not been updated for quite a long time, yet it works without problems under Windows 10 and reads all known types of SD memory and connected removable devices. Generally speaking, Card Recovery specializes in data recovery from SD cards of digital cameras, phones, tablets. The main types of data are video and photo. If you need to recover files from your hard drive or specify specific file formats to search for, it's best to turn to other products.
The key feature of CardRecovery is the SmartScan function, thanks to which you can find photos and videos by signatures. This can be especially useful if the SD card's file table has been destroyed after formatting or corruption. The deep search function is available in the Recuva program, but CardRecovery performs a quick analysis of multimedia formats.
Disk Drill is a recovery program with a simple interface and wide support for storage devices
DMDE – professional recovery from memory cards, flash drives and HDDs
We included this program in the review, despite the fact that the free version is limited. DMDE is used in professional circles as a convenient and effective recovery tool. The program is cross-platform - you can use it under Windows, Linux, Mac OS and DOS - via the command line.
Let's talk about the restrictions right away. The free version of DMDE allows you to recover up to 4000 items.
Other versions of the DMDE program (Express, Standard, Professional) remove the restriction on the file limit, the cost of the license starts from €16.
In addition, basic tools are available in the free edition:
- Disk editor - allows you to manually change the disk structure, file tables, deep search for deleted files,
- Creating a disk image for subsequent recovery from a complete copy of the original.
The list of compatible storage devices includes HDDs, RAID arrays, USB flash drives, SD and microSD cards. File system – almost any of the known ones. As a rule, for memory cards we are talking about NTFS, exFat or FAT. Linux and Mac OS FS are also supported.
Which SD card recovery program should I choose?
- Recuva is a free recovery application that works fully without paying (we hope it will always be this way). Therefore, this program is the most popular on the market.
- EaseUS Data Recovery Wizard in the free version is limited to 2 GB of recoverable information - which is quite enough at first. The program is convenient and contains a step-by-step wizard.
- 7-Data Recovery and DiskDrill are now the same program. It has some nice additions like pausing scanning and searching by signatures.
- Glary Undelete is a pretty simple program. It is quite suitable for restoring files on a memory card, but it lags behind all those listed in terms of functionality.
- DMDE is perhaps the best professional tool, the price is low for such a list of features. It fully searches for files on a memory card, although for the most part it is used to recover data on a hard drive.
- Photorec is best for finding lost photos and recovering them on any desktop platform. Memory cards, as stated, are supported; you can work with them through a card reader.
A memory card is a convenient way to store information that allows you to save up to 128 gigabytes of data. However, there are times when the drive needs to be formatted and standard tools cannot always cope with this. In this article we will look at a list of programs for formatting memory cards.

The first program on this list is SDFormatter. According to the developers themselves, the program, unlike Windows tools, provides maximum optimization of the SD card. Plus, there are some settings that allow you to slightly adjust the formatting to your liking.
RecoverRx

Transcend's RecoveRx utility is not too different from the previous one. The only thing I would like to have in the program is more fine-tuning. But there is data recovery if it is lost in the event of a memory card failure, which gives the program a small plus.
AutoFormat Tool

This utility has only one function, but it does it quite well. Yes, the process takes a little longer than usual, but it's worth it. And considering that it was developed by the famous company Transcend, this gives it a little more credibility, even despite the lack of other functionality.
HP USB Disk Storage Format Tool

Another quite popular tool for working with USB and MicroSD drives. The program also has formatting with a little customization. In addition, there is also additional functionality, for example, an error scanner on a flash drive. And in general, the program is great for formatting a flash drive that won’t open or freezes.
HDD Low Level Format Tool

This software is more suitable for HDD drives, as can be seen even from the name. However, the program can also cope with simple drives. The program has three formatting modes:
- Conditional low-level;
- Fast;
- Complete.
Each of them differs in the duration of the process and the quality of mashing.
MicroSD recovery is a very popular topic these days, because flash drives break very often, and you don’t want to lose information from them.
Therefore, many are looking on the Internet for information about the easiest way to obtain information from a media that does not work.
Moreover, the problems can be very different - for some, the flash drive simply cannot be restored, for others, errors appear, and so on.
And the answer to the above question is very simple - there is a special program for restoring MicroSD, and not just one.
The user only needs to use the most suitable one.
MicroSD recovery programs
CardRecovery
This program does an excellent job of restoring photos, videos and audio content from storage devices.
Unfortunately, it does not restore ordinary files, which is why it is intended only for those flash drives that are used in mobile phones, cameras and players.
How to use CardRecovery:
- Download the program from this link. We launch it, read the greeting and click Next.
- Select the flash drive in the Drive letter section, the device type in the “Camera Brand and File type” section (we also check the boxes next to the types of files that will be recovered) and the folder where the recovered files will be saved in the Destination Folder section. Click Next.
- We are waiting for the restoration process to complete. Click Next.
- We see a list of recovered files. We put a tick next to those that we want to save. Click Next one last time. The process is over.
PC Inspector Smart Recovery
This is a much more functional program that recovers almost all file types available today.
It works for both non-removable hard drives and removable media. To use it, you need to do the following:
- Download the program from this link. Open it.
- In the start window, select the “Recovery of logical files” item. You may need to click on the tab with the green up arrow on the left.
- Next, you need to select the desired drive on one of the tabs (it can also be among the logical drives). Click on the checkmark on the right.
Hint: You can find out the letter and name of the flash drive in Windows in “My Computer” (“Computer”, “This Computer” depending on the OS).
- Select the starting and ending sector. This must be done so that the scan size matches the media size. Click on the checkmark on the left.
- Next we will see a list of all files. Green indicates those that can be restored, and yellow indicates those that do not require restoration. After this, you need to click on the floppy disk icon on the left.

R-Studio
On the official website they write that today this is the most “comprehensive” file recovery software.
Users do not resist this conclusion. To recover data using R-Studio you need to do the following:
- Download the program (here is the link) and run it.
- In the Drivers section, click on the media from which data will be recovered. Its properties will be displayed in the Properties section.
- Next, the folders will be displayed in the Folders section, and the files in this folder will be displayed in the Contents section. To restore them, you need to click on the Recover button on the top panel of the program window.

Easy Recovery
Many experts say that this is a really good file recovery program. There is only one way to check this:
- Download the free version of the program from this link and run it.
- In the start window, click “Continue”. Next, select “Memory cards”.
- Click “Continue” again. Select “Data Recovery” and check the box next to the file system of this media at the bottom.
- Click “Continue” again. Wait for the scanning of deleted files to finish and the window with a report on the list of deleted files and folders to appear. On each one you can right-click and select “Save as...”.

Flash Memory Toolkit
This is a very multifunctional program.
In addition to recovery, it can also perform the functions of testing, destroying confidential information, backup and obtaining detailed information about the device.
To recover data, you just need to select the flash drive in the Device section, click on File Recovery in the menu on the left and follow all the instructions of the program.
Clue: All of the above programs can be downloaded for free on the non-commercial resource flashboot.ru.
Read our other articles about flash drive repair:
Sometimes restoring a MicroSD flash drive using the above programs does not go as smoothly as you would like - some problems may arise.
Let's look at the most common of them.
Problems with MicroSD recovery
MicroSD is not detected
It happens that you need to restore a MicroSD card, but the computer simply doesn’t see it.
It’s interesting that this usually happens completely unexpectedly and for no apparent reason: the user inserts the card again, and suddenly the computer stops seeing it (previously he inserted it, and everything was fine).
In this case, there are three options:
- The letter of the drive name matches the letter of the already connected drive. Indeed, it is possible that some kind of storage medium is already connected to the computer, and for some reason the flash drive is designated by the same letter when connected. In this case, you need to open the standard Disk Management utility (Win + R and enter “diskmgmt.msc”), select the flash drive there, right-click on it and select “Change drive letter or drive path.” After this, all that remains is to specify some other letter of the Latin alphabet and save the changes.

- Lack of drivers. In some cases, both the old proven computer and the new computer with a newly installed operating system may not have drivers for some media. There is only one way out - download and install them. The best way to do this is by searching on the official website. You can use the DriverPack Solution program. You can download it from this link. It independently determines which devices are connected to the computer and whether there are driver updates for them. It’s convenient that the program itself will determine whether drivers for the flash drive are installed. If this is not the case, they will be installed en masse, along with everyone else. To do this, the user simply needs to click on the “Drivers” tab on the left and click on the “Install automatically” button.

- You can also try connecting the memory card to another device. This will give you a chance to still read the necessary files and use the recovery program. For example, you can insert a MicroSD into your phone and restore not the card itself, but the entire phone as a storage medium.
Read other GeekNose materials about disk data recovery:
Another common problem is that the computer sees the flash drive, but does not see the files on the flash drive themselves.
The computer “does not see” MicroSD files
This means that the flash drive itself is detected by the computer, but some files (or even all) are missing from it.
The user may immediately think that the problem is in the card itself and it needs to be restored. But everything can be much simpler.
The solution to this problem is to check your computer for viruses, in particular Trojans, and remove them.
Indeed, the Trojan can make files hidden. So feel free to turn on and use your antivirus before lamenting about lost data.
It is worth saying that in some cases the MicroSD recovery process may differ depending on the device manufacturer.
Recovering MicroSD from different manufacturers
MicroSD Transcend Recovery
Transcend has its own file recovery software for MicroSD cards. It's called RecoveRx.
This program takes into account the individual characteristics of cards from a given manufacturer and is able to perform its functions much better than all of the above programs.
In addition to recovery, RecoveRx can format the card and put a password on it.
To perform a restore, you must do the following:
- Download and run the program (here is the link). Select Recover from the menu at the top. In the program window, select Transcend (may differ depending on the name of the card, by default it is the same as shown here).
- Select file types.
- Wait for the process to complete and see a list of files available for saving. Save the ones you need using the drop-down menu (the one that appears after right-clicking on the file).

Recover MicroSD Kingston
The problem with flash drives from this manufacturer is that they mainly use Phison controllers.
This means that the user will have to resort to low-level recovery.
Other methods may simply not work. Briefly described, the process is as follows:
- Define the Vendor ID and Product ID parameters so that you can then use them to find the required utility. This can be done using the USBDeview program (link). Open the program and find the desired card in the list. Right-click on it and select “Html report: selected elements”. Scroll the window that appears until you see the Vendor ID and Product ID.

- We go to the website flashboot.ru/iflash/ and enter the required parameters in the appropriate fields. As a result, we will see a list of all cases where problems occurred with this model. And on the right, in the UTILS section there will be programs for low-level restoration of this model. The user needs to try them all - usually more detailed instructions for use can be found on the official websites.
MicroSD Kingmax recovery
Kingmax also has its own software. There are two programs - one for U-Drive and PD-07 series drives, and the second for Super Stick.
You can download both programs.
Their use is extremely simple - you need to insert a USB flash drive, launch the program and click on the desired drive.

Sandisk MicroSD Recovery
After this, the flash drive will work like new. Using the programs is very simple.
In Formatter Silicon Power there is generally only one small window with two buttons (there you need to click Format), and in SDFormatter there are more options, but you will still only need to click on the Format button.

Smartbuy MicroSD recovery
There is one interesting thing about working with flash drives from this manufacturer - if the flash drive doesn’t work, you can just wait for up to several years, and after that it will work again.
If you don’t want to wait, you need to try all the recovery programs you can find.
This application looks like a regular folder.
Having selected the media, you need to click on the Recover button at the top, wait for the process to complete and see a list of files that can be recovered.

Qumo MicroSD recovery
MicroSD from Qumo are famous for the fact that they just suddenly die. One day they stop working, and after that it will be very problematic to see any signs of life in them.
Some users recommend using the above-mentioned programs R-Studio and CardRecovery. But not in all cases they will be effective.
There are special companies that are engaged in restoring “dead” flash drives using hardware methods, but such services are not cheap, and it is usually cheaper to purchase a new drive.
A-Data MicroSD Recovery
In this case, too, most programs do not help. Paragon Partition Manager Free works best with A-Data flash drives.
First, in this program you need to perform formatting (Format Partition button in the main menu), and then create a new empty partition (Create new partition).

Oltramax MicroSD recovery
In this case, full formatting using SD Card Formatter also helps well. In some cases, it is possible to restore the drive's functionality using ALCOR MP.
Full instructions for its use can be read.
Recovering damaged MicroSD
In some cases, when using the drive, the message “Damaged memory card” or something similar may appear on the screen.
The following programs help here:
- Smart Data Recovery – you need to select the media and click the Find button, after which it will search for all files that can somehow be recovered;

Rice. No. 14. List of files available for recovery in Recuva
- BadCopyPro – click on Memory card on the left, then Next, Next again, wait for the process to finish and see the list of required files.

The same operations can be performed on a device running Android OS. The following applications help here:

Prevention
It is better to use the flash drive correctly first so that later there are no problems with its malfunction. Here are some tips to help avoid MicroSD failures:
- Do everything possible to ensure that the drive is not dropped, knocked, bent, exposed to extreme temperature changes, or other impacts that could damage it.
- Avoid ionizing radiation (such as from X-ray machines).
- Do not touch the contacts with your fingers and generally try to always keep them covered with a special cover.
- Defragment the card from time to time and generally use it regularly - MicroSDs don’t like to just sit on the shelf.
- Try to make backups from time to time so that in case of a breakdown you do not lose all your data. To do this, you can use cloud storage.
- Do not fill the entire storage capacity; let there always be some free space.
- If the card is in some device, try to remove it from there as often as possible.
See our other materials on formatting hard drives and flash drives:
Sooner or later, every user of additional memory cards needs to format a microSD card.
There are several ways to do this efficiently and efficiently. But first you need to figure it out what is microSD and how is formatting done??
What is microSD?
Read also: TOP 12 Best memory cards for smartphones, cameras and DVRs | Review of popular models + Reviews

MicroSD is a small flash drive designed for portable equipment (mobile phones, digital cameras, MP3 players, etc.).
There is a type of equipment to which you can only connect an SD card. Often in this case, together or separately, special adapter sold, allowing you to make the transition from microSD to SD.
There are now four generations of cards:
- SD0 – from 8Mb to 2 Gb;
- SD 1.1 – up to 4 Gb;
- SDHC – up to 32 Gb;
- SDXC – up to 2 Tb.
History of MicroSD development
Read also: TOP 12 Best USB flash drives for all occasions: for music, movies and backup data storage

This memory card format was developed in 1999 by a joint effort of companies such as Panasonic, SanDisk and Toshiba.
Later, in order to “promote the idea,” a separate company was created to develop and improve this card format – SD Association.
Despite this early appearance, microSD cards only came into use in 2004. It was then that the company SanDisk introduced a standard for such cards, which was originally called TransFlash.
A year later, the name TransFlash was officially changed to MicroSD.
The device was initially doomed to great popularity, and they were right, especially now that it has very compact dimensions (20 * 21.5 * 14 mm and weighs 1 gram) and can store up to 128 GB of data inclusive, while having excellent data processing speed.
Areas of use
Read also: TOP 11 Best Hard Drives (HDD) for your Computer, Laptop or Network Attached Storage (NAS) | Review of current models in 2019
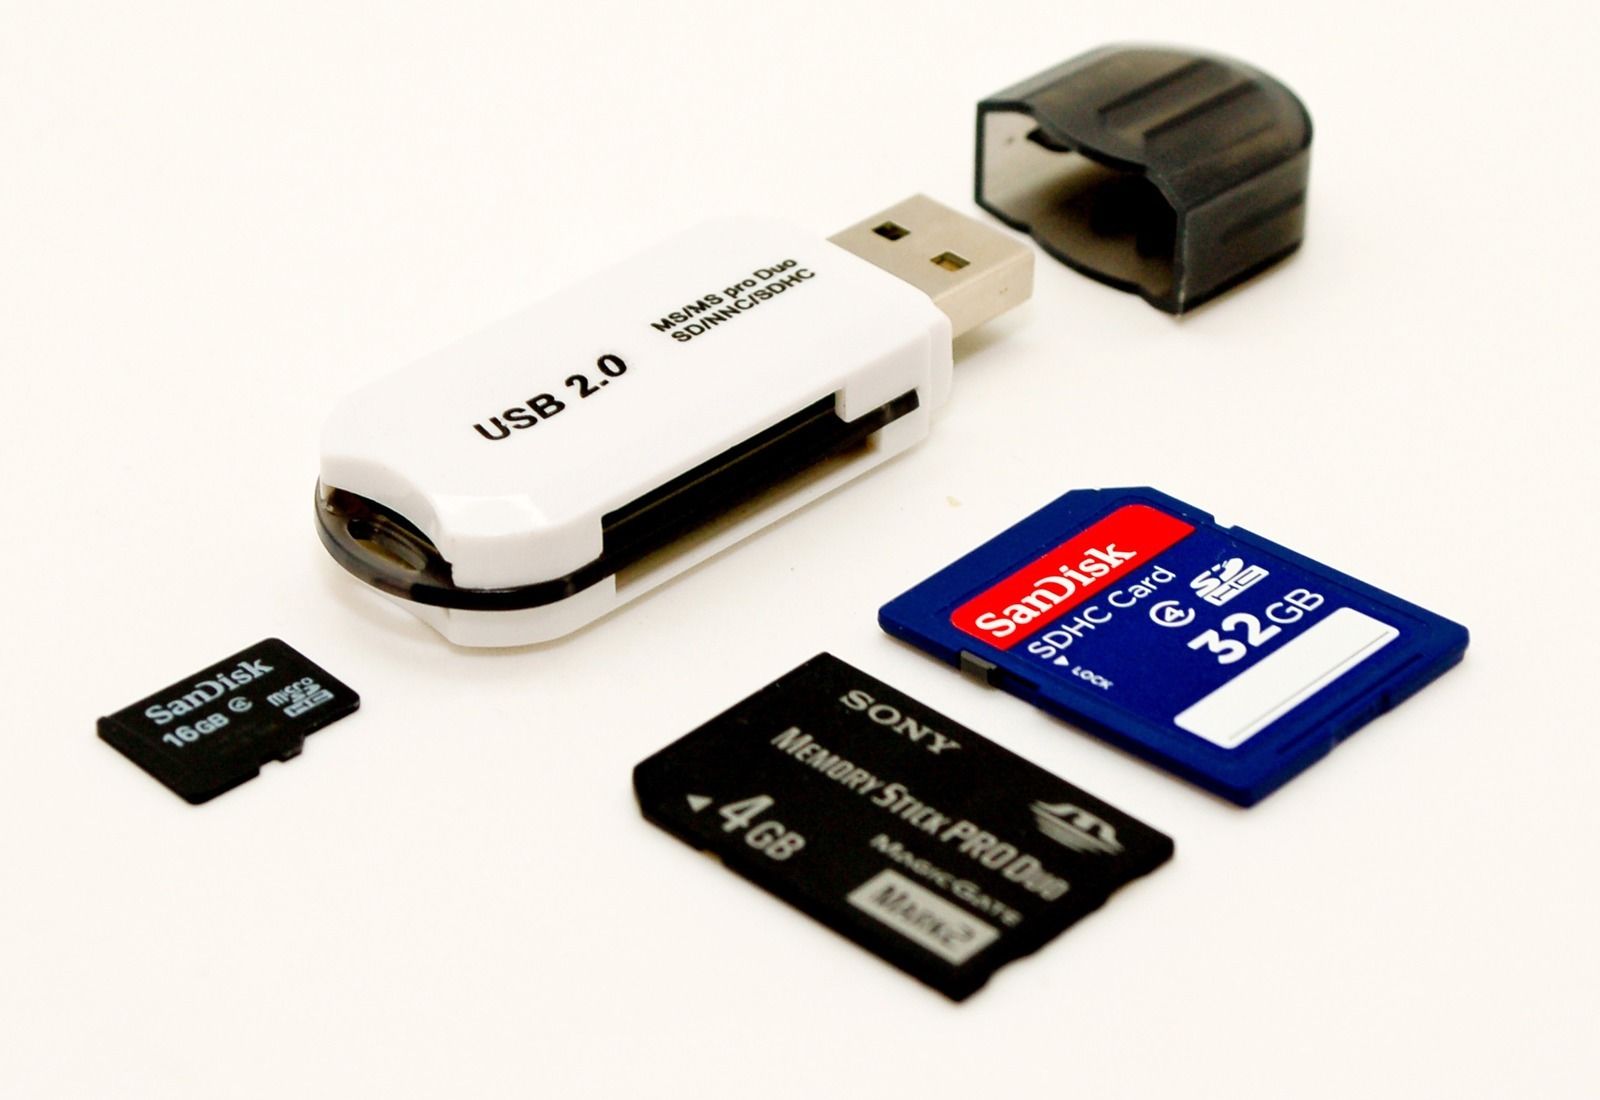
As mentioned above, cards of this format are used mainly for portable equipment. There are only three types of SD cards: microSD, miniSD and regular format SD cards.
Regular and miniSD cards Most often used in photo and video cameras. They store the footage.
The third kind used in more compact technology– mobile phones, smartphones, communicators, MP3 players and others.
Such devices are equipped with a special connector that supports this format. In this case, the memory card stores photos and video files, music and even many applications.
SD cards are used not only for use in portable equipment, but also in PCs as a storage medium. In the modern world, more and more laptops have a connector for connecting regular SD cards.
You can connect the device to desktop computers via a card reader. In this case, a special adapter is used for a microSD card, which is exactly the same size as a regular SD card.
Why formatting should be done
Read also: TOP 10 Best Network Attached Storage (NAS) for Home and Work | Rating of current models in 2019
First of all, formatting allows you to completely free the memory card from the files on it. The second reason is the presence of viruses.
It is impossible to completely get rid of viruses by simply deleting virus files, so you will need to format the microSD.
And finally, the third reason is the slow operation of the card. By completely cleaning the drive, you can speed up its operation..
Formatting using standard Windows tools
Read also: TOP 10 Best SSD drives for your laptop or computer. Choosing which one is better: SATAIII, M.2 or PCIe in 2018
You can format the card using standard Windows tools, but will this give the desired effect? After all, microSD cards often have write protection.
Therefore, it will be impossible to delete files. To check this, you can try formatting the flash drive without using programs.
To do this, insert the card into the card reader and wait for the computer to “see” it.
Then go to “My Computer”, find the required removable disk and right-click on it.
In the context menu that opens, select the item "Format".

In the window that opens change the file system to FAT. If it is the default, then we do not change it. Then click the “Start” button.

Once the process is complete, your card remains empty. But not always completely.
After uploading new files and safely removing the removable drive, when you reconnect, it may turn out that the old files that were on the microSD before formatting and the new ones overlap each other.
In this case, independent formatting without third-party software will no longer help you. You will have to turn to various types of programs for help.
Let's look below at what programs can help us free up our SD card.
AutoFormat Tool
Read also: Transferring the system to an SSD drive: transferring data and the Windows 7/10 operating system
This program is very easy to use. It has a very small volume and is absolutely free. To use it you need to download the download archive.
You can do this on any site where you have it. You just need to enter its name in the search bar of your browser.
After downloading and installing, click on the shortcut using the right mouse button, and in the context menu that opens, select the item "Run as administrator"».

After the program itself opens, in the utility window, select the arrow in the Disk Drive line and find the letter of your device.
Then put the marker on the SD item and press the “Format” button to start formatting.

After clicking the formatting button, another window will appear asking you to confirm the deletion of all files. Click “Yes” and start the formatting process.
Once completed, your card will be fully formatted and ready to use. If you can’t format the card using Windows, then this program will 100% help you.

Read also:

This program is just as easy to use as the previous one. With her help You can format not only SD cards, but also USB drives and even RW drives.
The program is capable of performing low-level formatting, so it is used to clean any removable media.
This program also has a drawback - Once formatted using it, the data can no longer be restored.
The program can be downloaded for free on any website that has similar software.
After downloading the program easy to install and does not take up a lot of hard disk space, which is also a big plus. To format, proceed to the following steps:
1 Run the program as an administrator by right-clicking on the shortcut. In the window that opens, select the media that needs cleaning and click the “Continue” button.

2 In the next window, open the “LOW-LEVEL FORMAT” section and complete the action by pressing the “FORMAT THIS DEVISE” button. After this, we wait for the formatting to finish. This program has a slight delay in the cleaning process, so you will have to wait a bit.

SDFormatter
Read also: TOP 15 Best free cloud storage: a reliable place for your information to choose from
![]()
With this program you can perform better cleaning of the microSD card or any other removable media. It is more effective than standard Windows tools.
The developers of this utility are confident that this is the best formatting program.
To get started with this program, you should download and install it. You can download it from any site where it is available.
The program also absolutely free and does not take up much memory on your hard drive. After downloading, the program should be installed as usual and run as administrator.
After starting the program, a window opens in front of you, in which, in the “Drive” field, select the desired device to format.


After we have completed all the steps described above, simply click the “Format” button and wait for formatting to complete.
This method is quite simple, the program is easy to use and does not take up much space. It also doesn't use much RAM. Therefore, this method is very well suited for such purposes.

Starting the formatting process
Yesterday I helped a friend delete unnecessary information from her computer; it came down to removable media, in particular memory cards and flash drives. And I encountered a situation where, when I tried to erase files from a microSD for a smartphone, the microSD card was not formatted and an error was displayed: “The disk is write-protected.” In the article I will describe the methods I used to fix the problem, maybe they will help some of you.
How I unlocked the memory card
Disk management
Using the hot keys Win + R, open “Run” and enter the command diskmgmt.msc. In the list of volumes, find the connected external storage medium and right-click on it. And then, as shown in the screenshot below, and in the context menu that pops up, select “Format”.

Using diskpart to format an SD card
In the search for “Start” we write cmd.exe, this command will open the command line. Enter “diskpart” (without quotes). Using the keyboard, type list disk.

We find our SD in the table and recognize it by size.
Now we use clean.

The data will be deleted within a short amount of time.
Next, be sure to create a partition, enter create partition primary, then select partition to select it and active, when performing activation. In conclusion, we use format fs=ntfs, -full or format fs=NTFS QUICK, - quick formatting of microSD.
In turn, I want to note that the reception is the best!
Command line
In my case, the work was carried out in Windows 10 safe mode, but I think that the option described below will be relevant in later versions.
Open the command line, it can be found by opening “Start”, where we enter – format e:
Where “E”, respectively, is the volume letter.
What to do if MicroSD is write protected
Changing disk properties
Go to “My Computer”, right-click on the icon of the microSD card that cannot be formatted, go to “Properties”. We are interested in the “Access” tab, where we need to go to the “Advanced Settings” section.

In the window that opens, check the “Share” box and save the changes. Then format it using the standard method.
You can remove protection in the Windows Registry Editor
Using the hot buttons Win + R, by the way, you yourself can create for yourself exactly those that will be more convenient for you to work with, and enter regedit. In the thread
In WriteProtect we change the value from 1 to 0.

If it is not there, then you need to create a DWORD(32-bit) parameter if the operating system is 32-bit or DWORD(64-bit) by clicking on the free space on the right side of the screen.

Changing the file system
If you cannot copy files from a MicroSD over 4 GB, then the issue may be due to the file system limit - replace FAT 32 with NTFS.

After such manipulations everything should work out.
Diskmgmt.msc utility
This action also applies to flash drives.
Let's launch the application.

In the window we look, for example, for our flash drive

Using the mouse we perform actions.

How to remove write protection using the policy editor
- In “Run” we use gpedit.msc
- Computer Configuration - “Administrative Templates” - “System” - “Access to Removable Storage Devices”.
- And disable “Removable drives: Deny reading”.

What to do when none of the options suits you
- Apparently there is a problem in the memory itself.
- Scan your PC for viruses.
- The problem often occurs due to installed programs to create virtual disk drives, such as Alcohol 120%, DAEMON Tools, Virtual CD, Virtual CloneDrive and their analogues.
- The point is in flash drive or SD firmware (use proprietary software, such as Hp disk format tool or HDD low level format, which is often available on the media or can be downloaded from the official website).
To the entry "The microSD card cannot be formatted. The disk is write protected" 8 comments
Thanks for the advice, but I have the following similar problem. I have a 64 GB flash drive formatted in NTFS. I transfer information (movies, music, photos, etc.) from one computer (with Win XP Pro OS) to another computer (with Win 7 OS) - and almost always the flash drive becomes unreadable, uncopiable - with the message - remove the write protection. This can only be corrected by formatting the flash drive, but then all the information on the flash drive is lost. One computer is located more than 50 km from another; it is not possible to send information over the Internet. Afterwards, the newly formatted flash drive works fine. By the way, I noticed that it behaves this way only when I transfer information from Win XP Pro to Win 7, but not the other way around.
Good evening! How similar everything is! In Linux, format a flash drive with the command: sudo mkfs.vfat -F32 -I -v /dev/sdb, and in FREEBSD there is a similar command: sudo newfs_msdos -F32 /dev/da0.
I've been fiddling with this problem for half a day and all these tips haven't worked. I started looking for a proprietary utility for the memory controller and the memory itself, and finally found it and is now formatting it with its help. To determine the data on the flash drive, I used the ChipGenius v4.00.0807 utility (it was only able to see, other similar utilities do not see the flash drive). The recovery took 1 hour and 15 minutes. , you can wait, the flash drive is completely alive.
What I like about flash drives from Transcend is their reasonable prices and the program for “repairing” flash drives, which is downloaded into each media. ChipGenius, a good program, has also helped out more than once, but it does not communicate with all manufacturers.
I often use: JetFlash Recovery Tool, MPTool, USB Flash Drive Recovery.
And it’s best to try searching, as you do correctly, on the official websites of the product.
ChipGenius is a program for determining the controller and memory type, and then you need to look for a proprietary utility for flashing the controller and formatting the memory. There may also be nuances, you need to try old and new versions of programs, for example, the old version of the program helped me, the new one did not want to work with the flash drive, although everything was determined and the required memory was set, but the START button was not available. You can change some things in the programs, you can even hardcode your name, change the operating mode of the LED indicator. The available languages were: Chinese and English. The job description in PDF is in Chinese, but can be found in English and with Russian tips on what to do.
Today I tried ChipGenius. Live and learn! Great program. Thank you, Vladimir!
Please Sergey! It never hurts to try something new.
In this regard, I am only “FOR”. Something interesting comes up, let me know. ;)
Leave your comment
It might be useful to read:
- A SCiO gadget has been created that determines the composition of food. Food scanner.;
- How to delete messages on VK;
- Trolls on the Internet: learning to fight back;
- The game is not deleted, what should I do?;
- How to set music to ring on Lumiya?;
- Program for formatting flash drives;
- Voice recording using programs and online services;
- Merge PDF files online;